PVPP, what the heck is that? Though it sounds like a disease (though that may be the nurse in me) it really is just a method for painting wood signs. PVPP=Paint, Vinyl, Paint, Peel. It requires a vinyl cutter of some sort. I have the Silhouette Cameo 2 which I love! What is nice about the stencils you can make with vinyl vs store bought plastic or cardstock stencils is that you don’t have little connector pieces to the middles of letters. You know the ones I’m talking about.
Not that there isn’t a time and place for this type of font. The other downside to these type of stencils is that you either have to trace them with pencil and then meticulously hand paint or sponge paint one. Letter. At. A. Time. It works, but is slow going and leaves plenty of room for mistakes and mishaps.
So how does it work? Just like it says. You paint a piece of wood, stick vinyl (the stencil) on it, paint it again, then peel the vinyl off. I’ll be honest, I wasn’t even planning on doing a craft today let alone a post, but it was nice out and the Hubby was working on building my sewing table and I thought I would practice this painting method as prep for Christmas craft day with the in-laws. So pay attention Stacy, Kaylie, and Tara because you will be doing this! Well after making my practice board, I figured why let it go to waste!
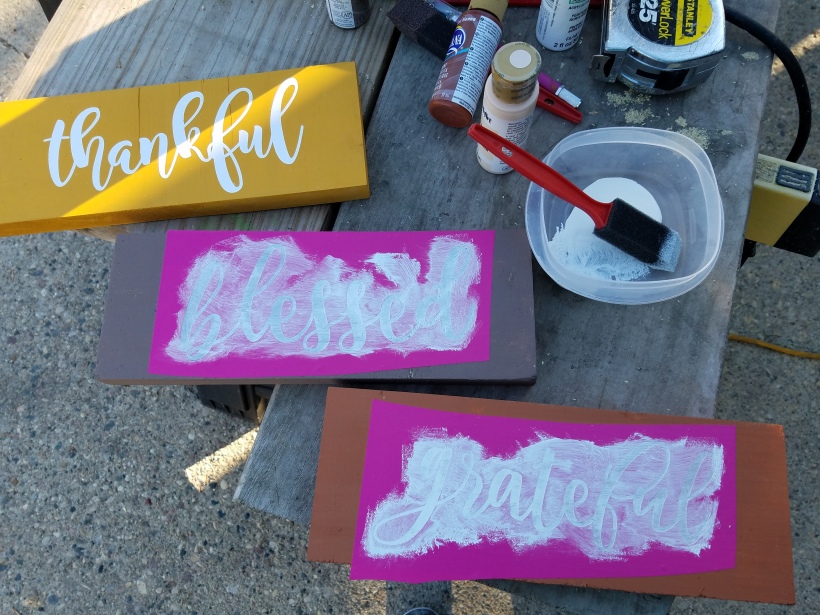
It starts with painting the wood.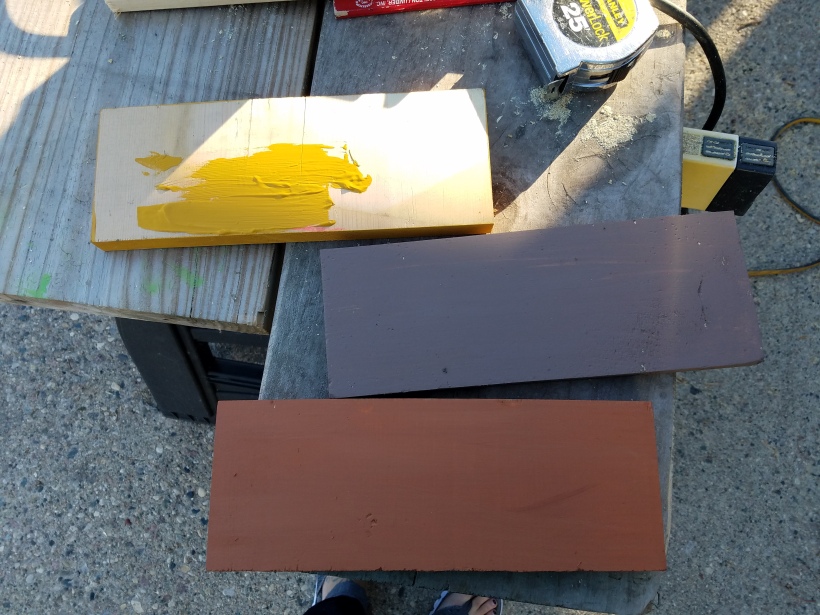
I had originally grabbed the mustard because I didn’t mind wasting it. Then when it came to picking a stencil, I thought I’d go with a fall theme and chose the word thankful. A popular craft on pinterest has been “Grateful, Thankful, Blessed” signs. This is where my Cameo comes in and the next step, vinyl.

I could just use a font that I have or even download one that I want from online. Dafont is a great website for free downloadable fonts. I however had files from the silhouette store that were perfect.
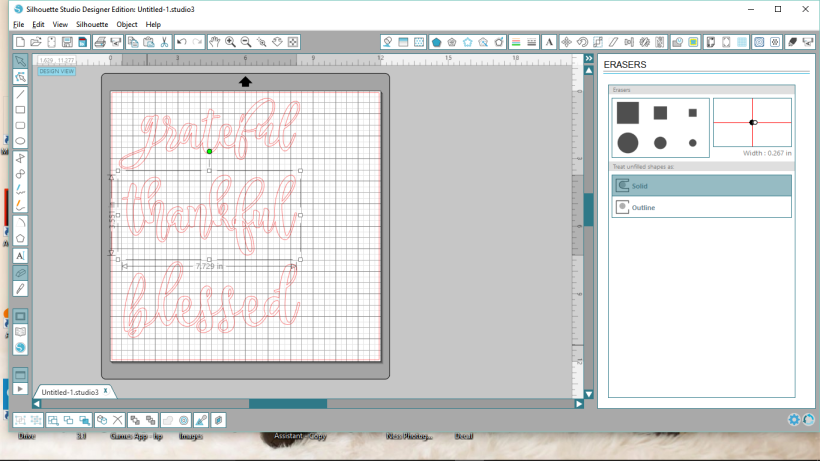
I loaded 3 different files onto my page and erased the little foliage from above and below each word. I then sized them to fit on my wood pieces how I liked and cut them using vinyl. I used oracal 631 because that is what had within reach. They do however make an actual stencil material. For me, the 631 worked just fine.
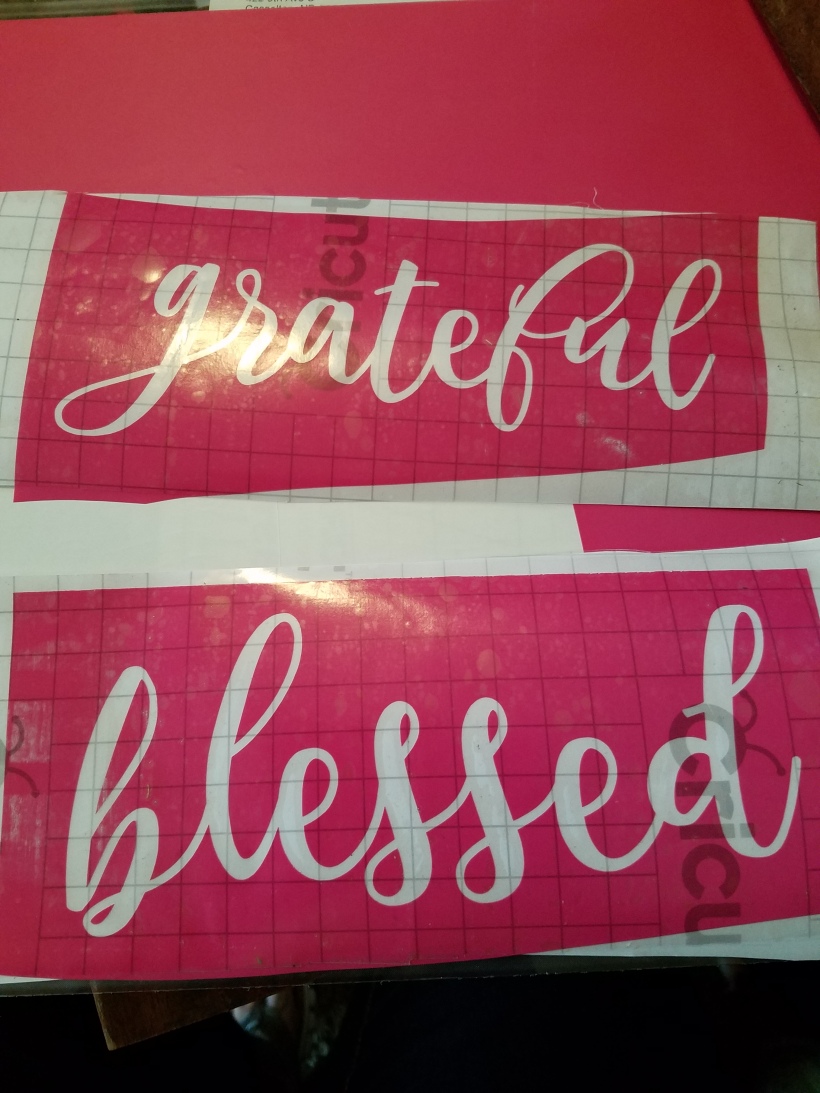
When using vinyl to add words to things such as walls, cups, or even signs, you would remove everything but the words. For this, I removed the words and the remaining vinyl becomes the stencil. I then placed transfer tape on top of my stencil. Once my paint was dry, I removed the paper backing from the vinyl and place the stencil on the wood however I want. For this project I wasn’t overly concerned with centering and making it perfect.


Once you have the stencil just how you want it, carefully remove the transfer tape. You want to take care that the edges are pressed well on the board to prevent pain from seeping under. Then the 3rd step, paint…again.
When painting, you have to first apply a thin layer of paint as a way of sealing the edges and preventing bleeds. It’s like the equivalent of the crumb coat when frosting cakes. Once that first coat is applied and dry, you can go back and paint with a 2nd or 3rd coat if needed. I found it best to use little paint on the brush and apply in thin layers. 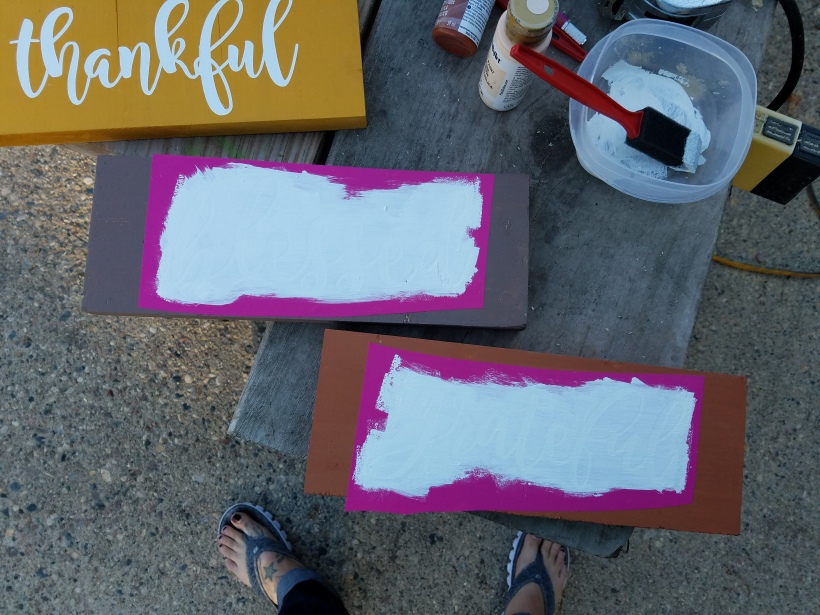
My boards are now painted and I let them sit until almost dry.If you let sit until completely dry, you risk the letter paint peeling up with the stencil. I have since learned that it works best to pull while wet, almost immediately after I’m done painting. 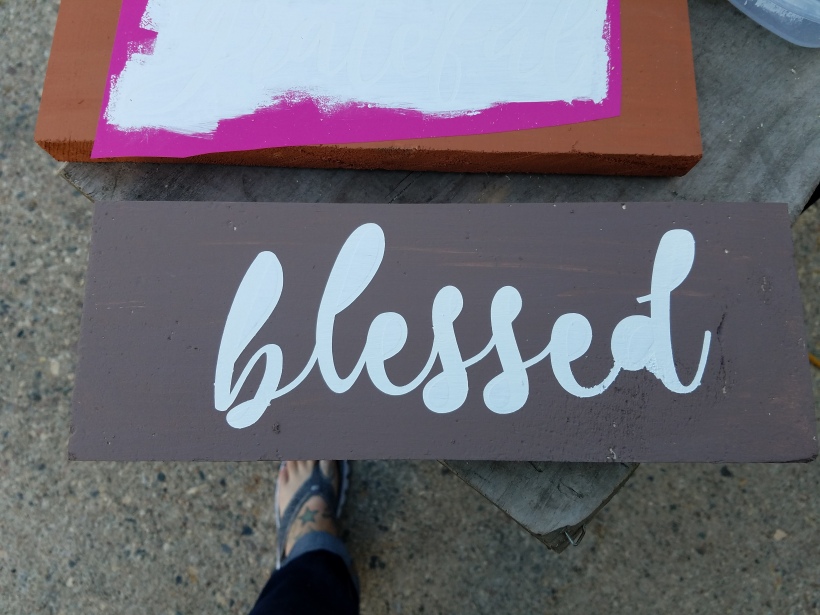
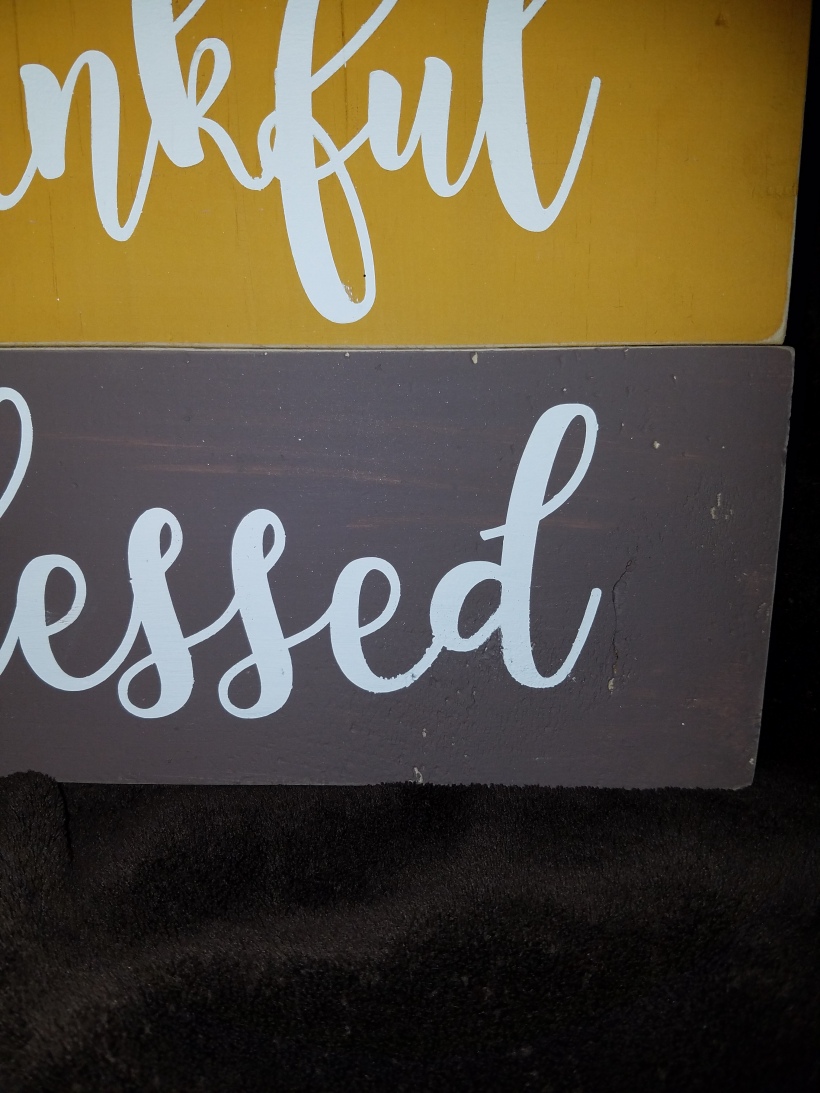
The outside of the stencil will pull off in one piece, but the inside of the letters will be left. You will need to go in and pull these up one at a time. I like to use an exact o knife, but whatever tool you normal use to weed vinyl with will work.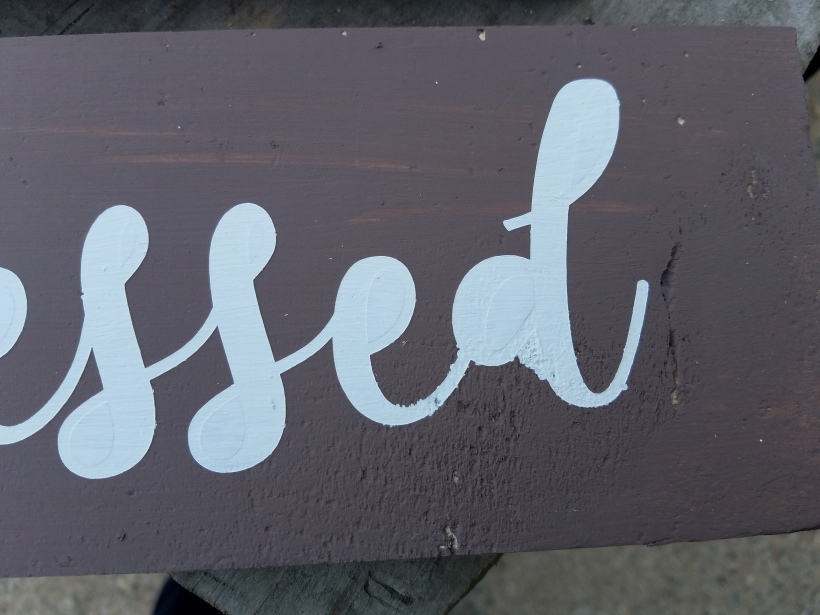
You can see underneath the d that I had a bit of bleeding. I applied my paint too thick and the vinyl pulled up. I used a toothpick and scraped away the white paint that had bled under the stencil. Once the paint had completely dried, I went back in and painted over with more brown paint.
So that is the PVPP method. Depending on the craft, you may be done. Since I have 3 boards, I want to attach them somehow.


I decided to simply stack the boards and attach them on the back. I chose my layout and used wood glue on the back to attach 2 support boards and then one board on top that I will attach a little saw tooth hook to.
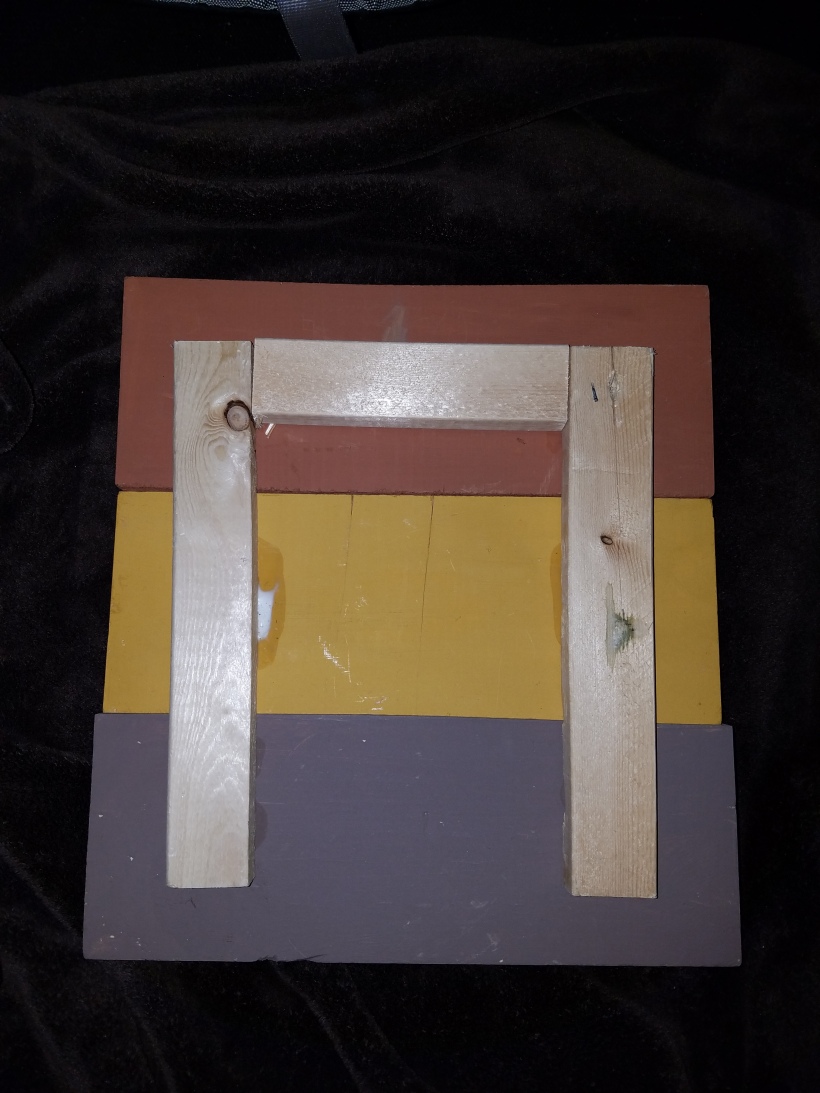
It’s probably not technically correct and my husband would probably roll his eyes at it, but it works.
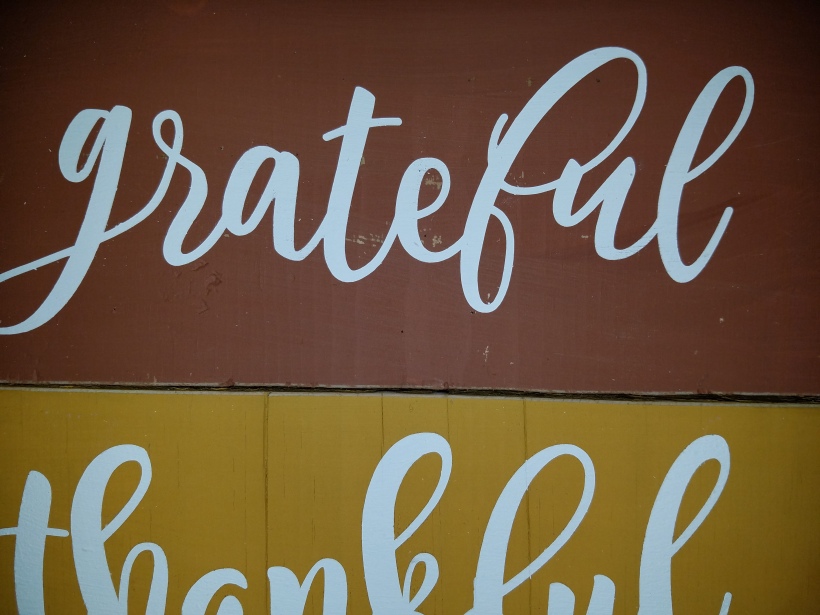
I did have a little bit of paint pull up on my grateful board, but I liked the rustic look and lightly sanded around the edges of the boards to add to it.
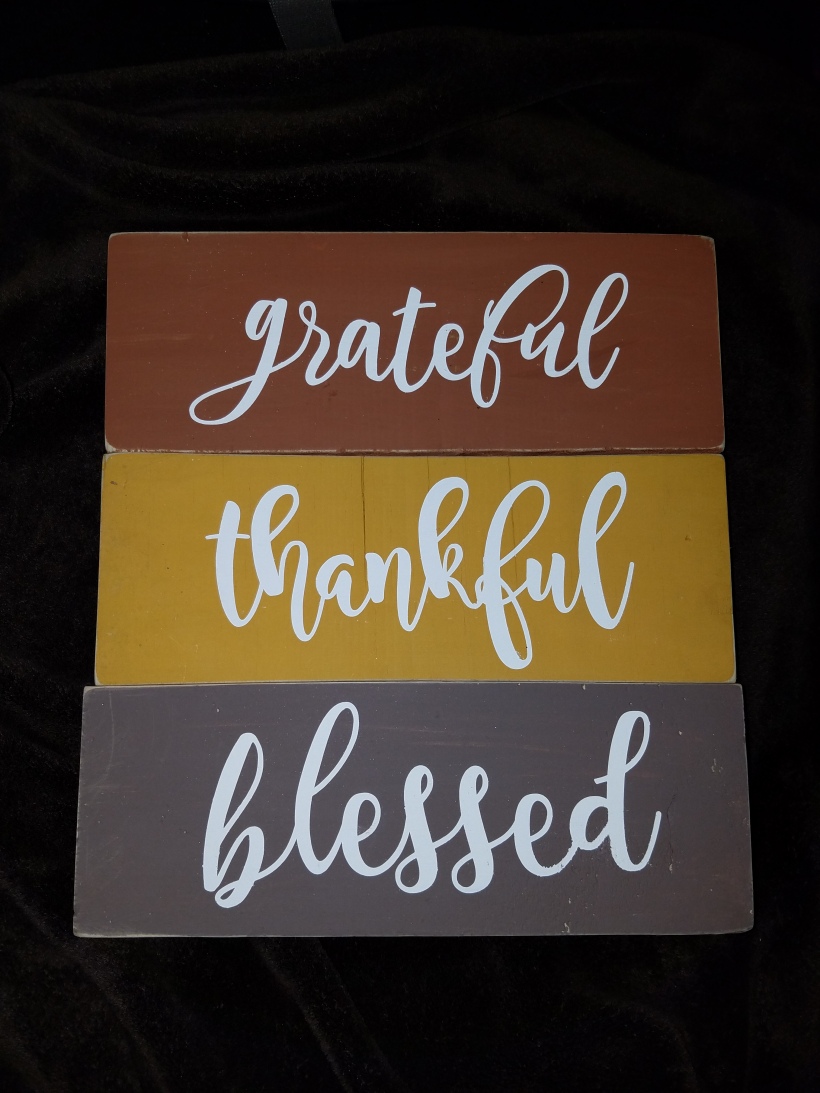
How cute it that?! Not bad for an impromptu craft!
I hope someone out there finds this useful!
